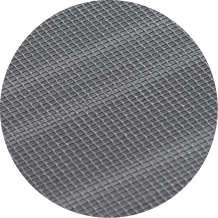
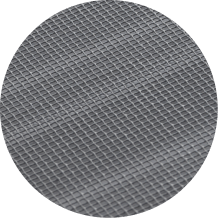
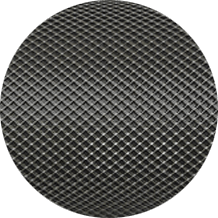
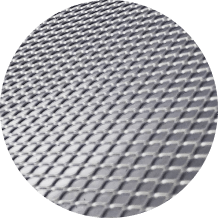
2mm Aluminium
Keeps out needles
Small leaf protection
Keeps out medium leaves

Keeps out large leaves

Keeps out pests and vermin

Bushfire compliant

Ember guard compliant (BAL 12.5, 19 and 29)
Medium strength
Benefits
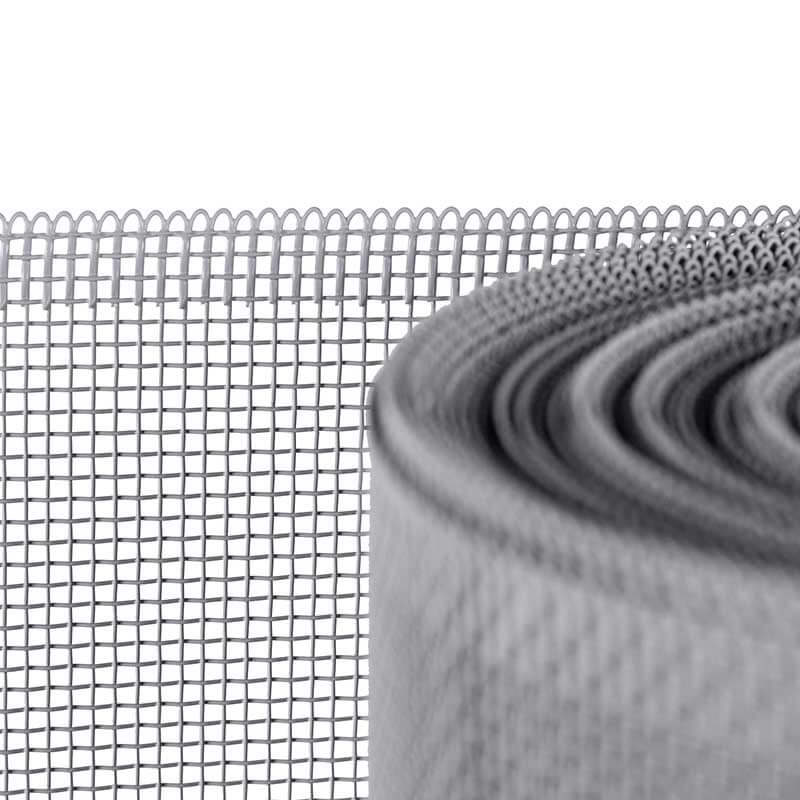
Woven selvage edge
Benefits
Extensive colour range
Benefits
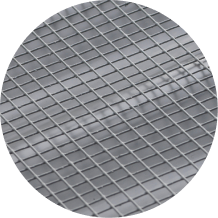
Bushfire and ember protection
For superior bushfire and ember guard protection, our 2mm steel mesh is ember guard compliant to all BALs (12.5, 19, 29, 40 and FZ) and offers the superior strength of steel.
Benefits
Woven selvage edge
Benefits
Extensive colour range
Benefits
Bushfire and ember protection
For superior bushfire and ember guard protection, our 2mm steel mesh is ember guard compliant to all BALs (12.5, 19, 29, 40 and FZ) and offers the superior strength of steel.
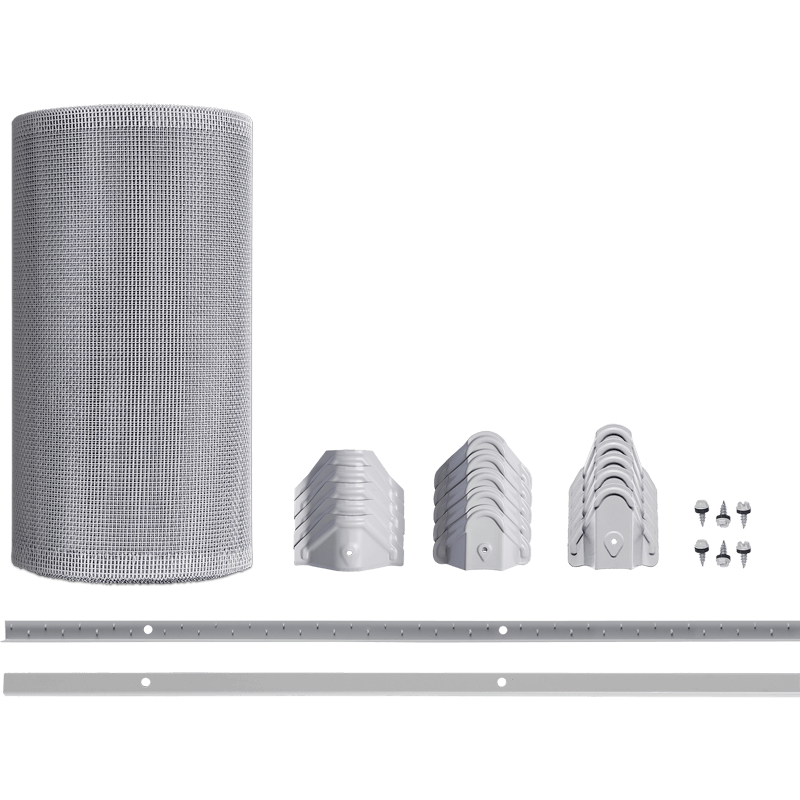
Pick your kit
Select your roof type:
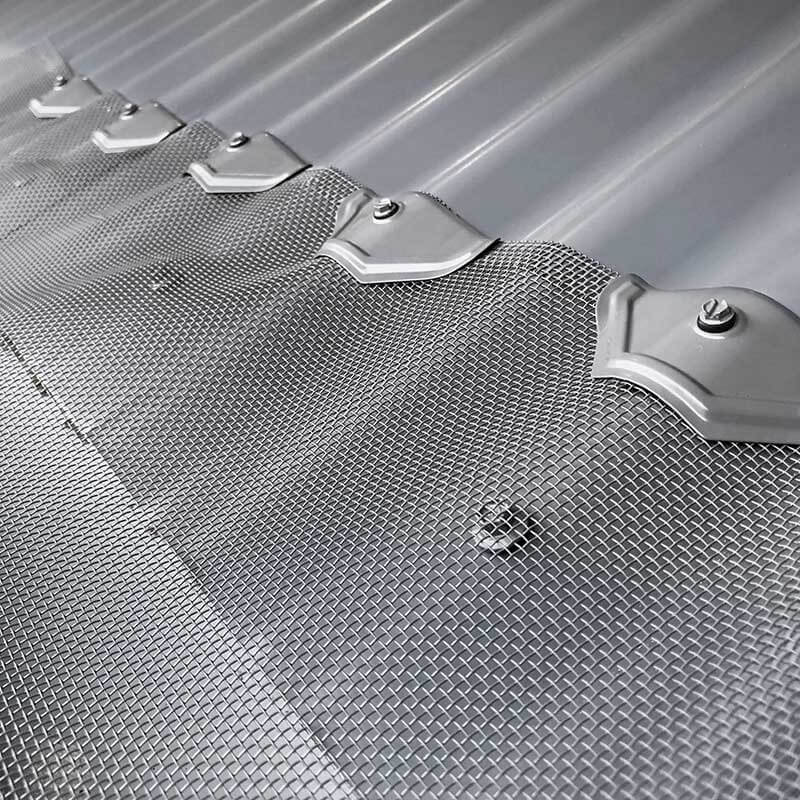
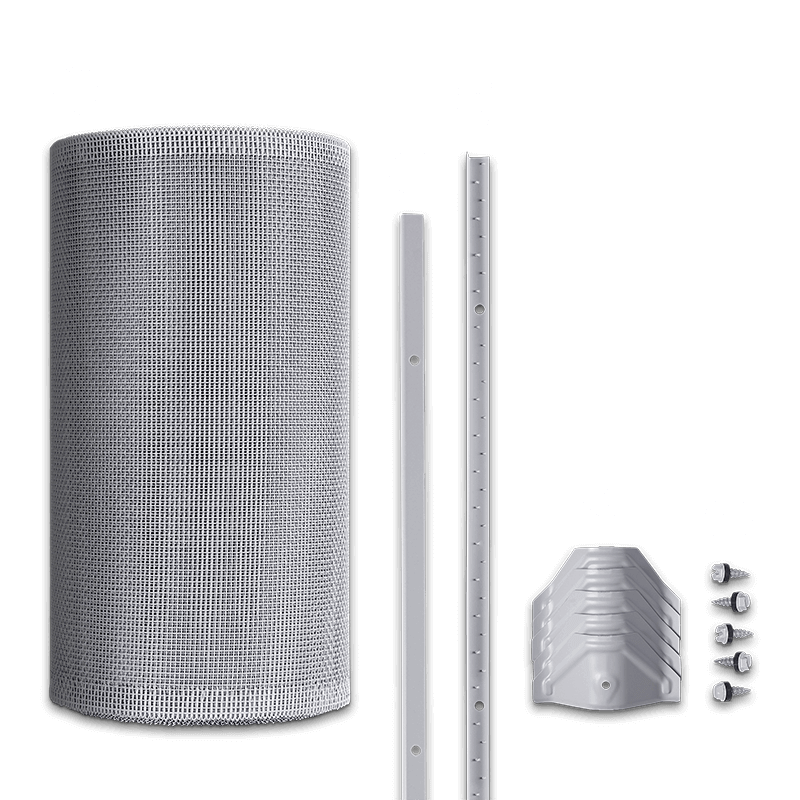
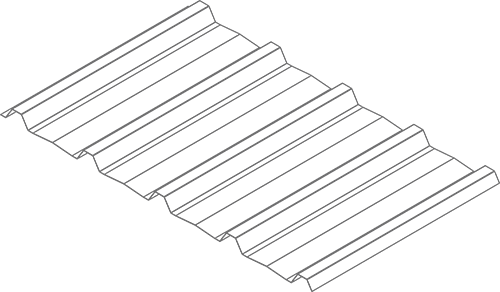
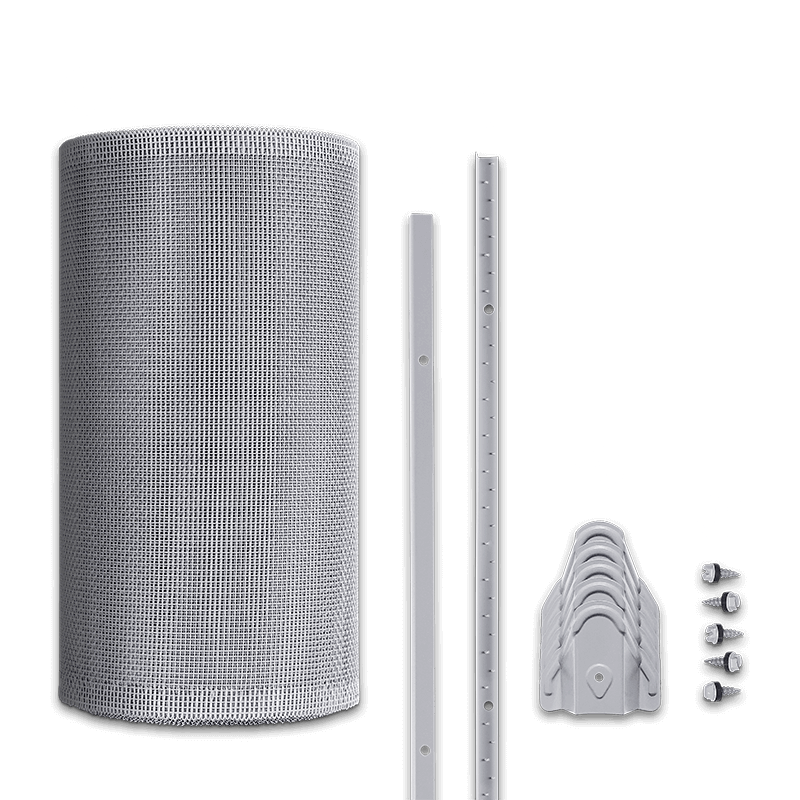
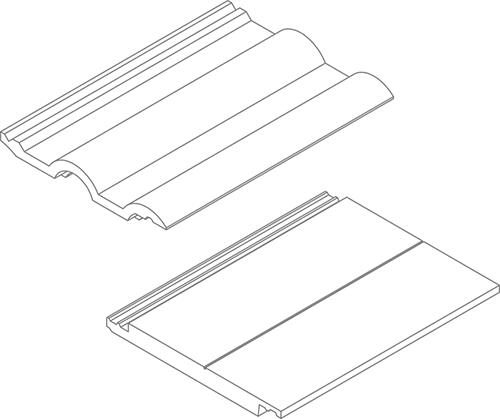
Your Corrugated roof kit includes
1. Mesh roll,
2. Standard Gutter Trim,
3. Mesh Lock Gutter Trim (optional upgrade – not included in standard kits),
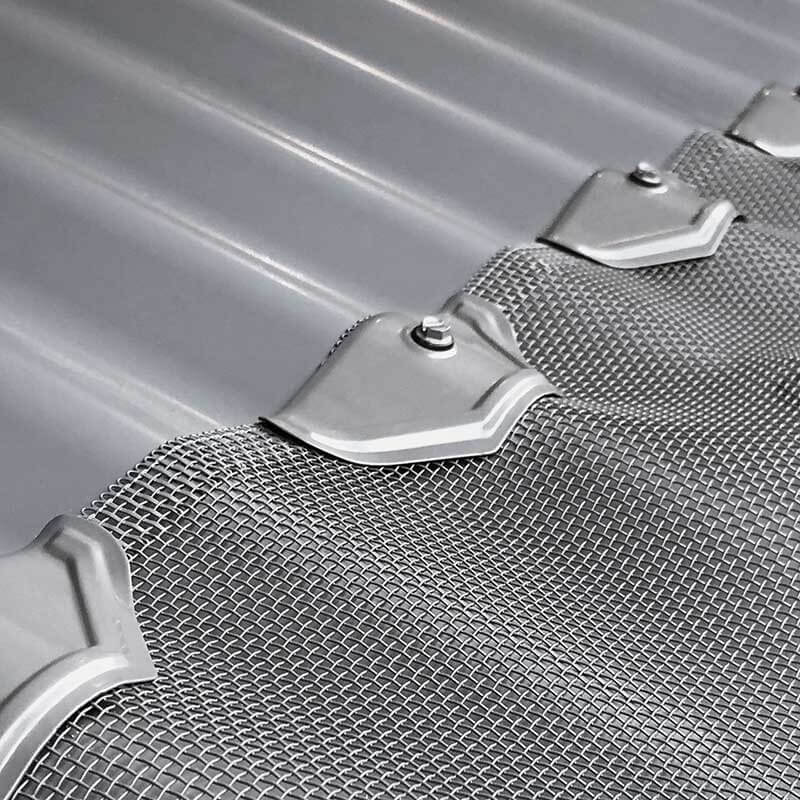
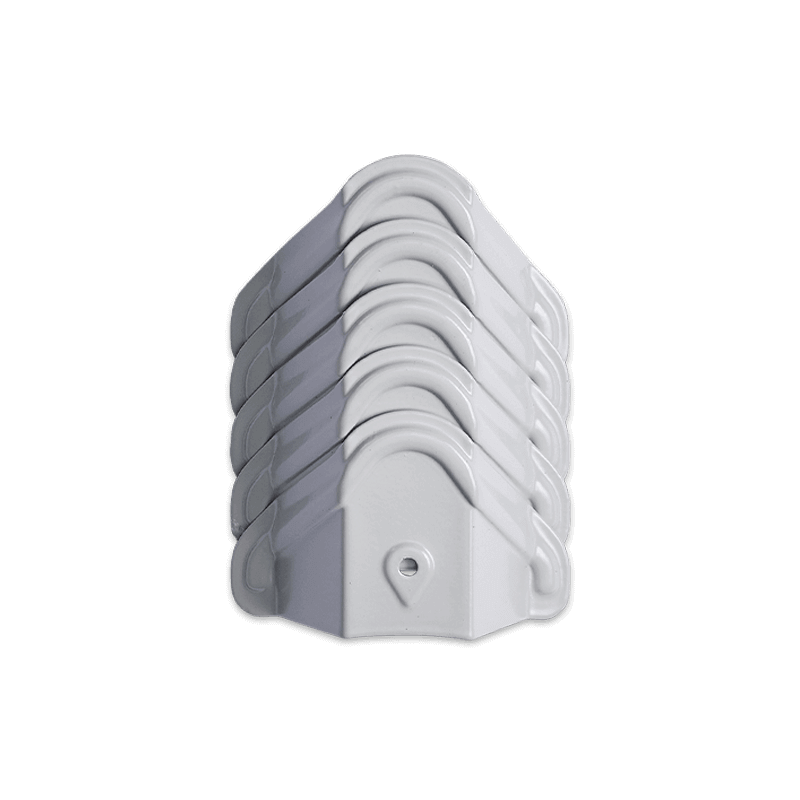
4. Corrugated Saddles,
5. Metal Screws
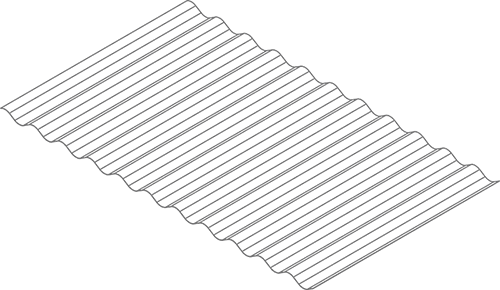
Roof information
- Lysaght Custom Orb
- Fielders S rib
- Metroll Corodek
- Revolution Corrugated
- Stramit Corrugated
- Stratco CGI 16mm®
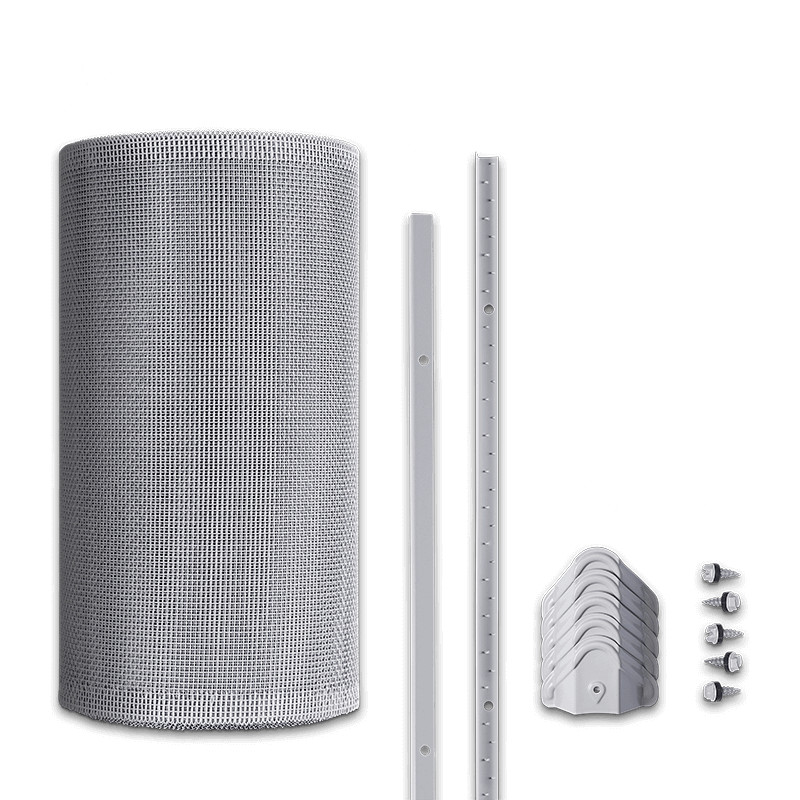
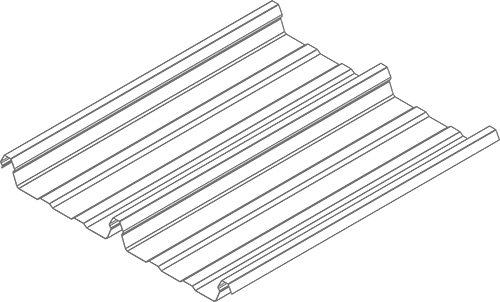
Your Trimdek® roof kit includes
1. Mesh roll,
2. Standard Gutter Trim,
3. Mesh Lock Gutter Trim (optional upgrade – not included in standard kits),
4. Trimdek® Saddles,
5. Metal Screws
Roof information
- Lysaght Trimdek
- Stramit Monoclad
- Stratco Superdek®
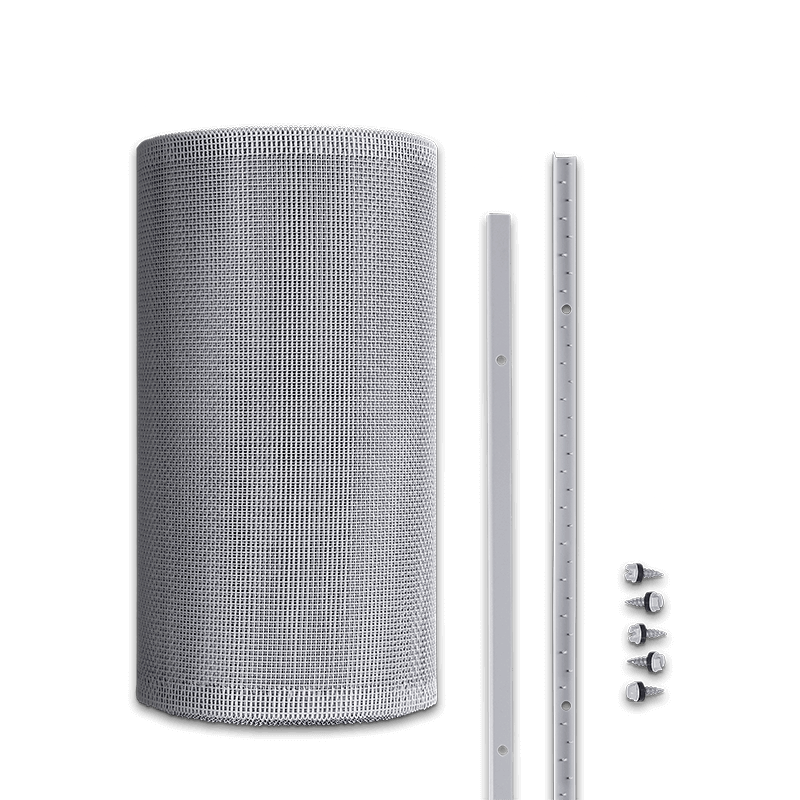
Your Klip-Lok® roof kit includes
1. Mesh roll,
2. Standard Gutter Trim,
3. Mesh Lock Gutter Trim (optional upgrade – not included in standard kits),
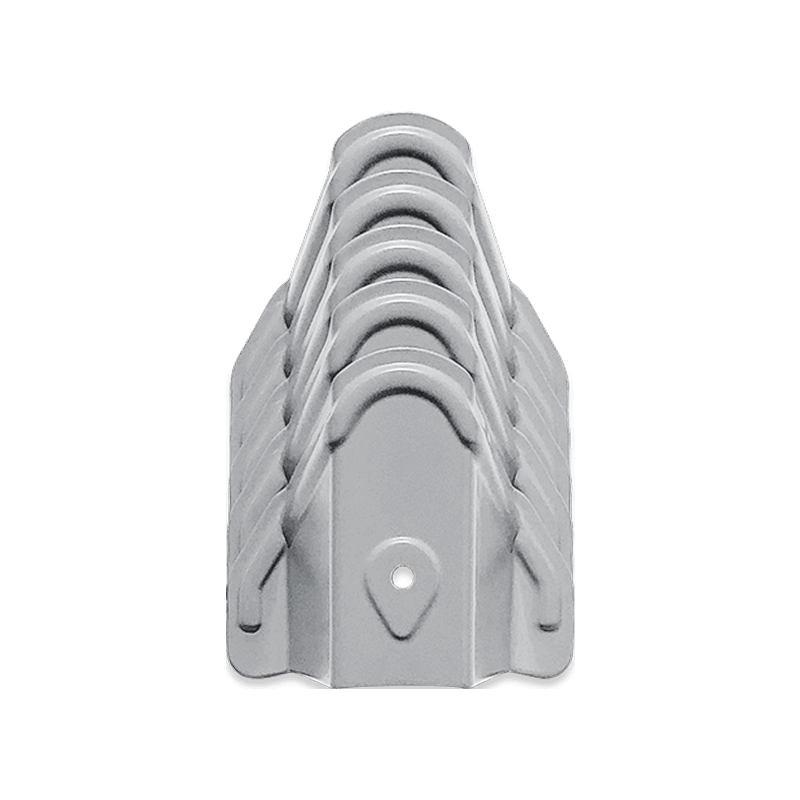
4. Klip-Lok® Saddles (optional),
5. Metal Screws
Roof information
- Lysaght Klip-Lok 406
- Lysaght Klip-Lok Classic
- Lysaght Klip-Lok Hi Strength
- Fielders KingKlip
- Metroll Metlok
- Revolution Revklip
- Stramit Speed Deck Ultra
- Stratco Topdek 700
Your Tile roof kit includes
1. Mesh roll,
2. Standard Gutter Trim,
3. Mesh Lock Gutter Trim (optional upgrade – not included in standard kits),
4. Metal Screws
Roof information
Available in an extensive range of COLORBOND® swatches
Blue Mountain Co gutter mesh and componentry come in an extensive range of COLORBOND® colours to suit a wide range of properties.
Available in an extensive range of COLORBOND® colours.
Blue Mountain Co Gutter Mesh and componentry come in an extensive range of COLORBOND® and tile colours to suit a wide range of properties.


Compare with other mesh kits

Installation & Maintenance
Check out our gutter mesh articles


Find the right mesh for you
For Architects and Building Professionals,
Download the Commercial version of the Handbook here